
Install & onboarding
Most accounts are live in 5–15 minutes. Install the app, authorize your booking platform, and walk through a short onboarding wizard — then an initial backfill pulls in your recent and upcoming bookings automatically.
1. Install the app
Install AutoSync for Mindbody or AutoSync for Booker from the HighLevel marketplace and authorize access to your sub-account. Installing connects HighLevel; the next step connects your booking platform.
2. The onboarding wizard
After install, new accounts are walked through a 4-step wizard. You can leave and come back — the wizard resumes at the first step you haven't finished.
Step 1 — Create account
Enter your name, email, phone, and company name, and pick your booking platform.
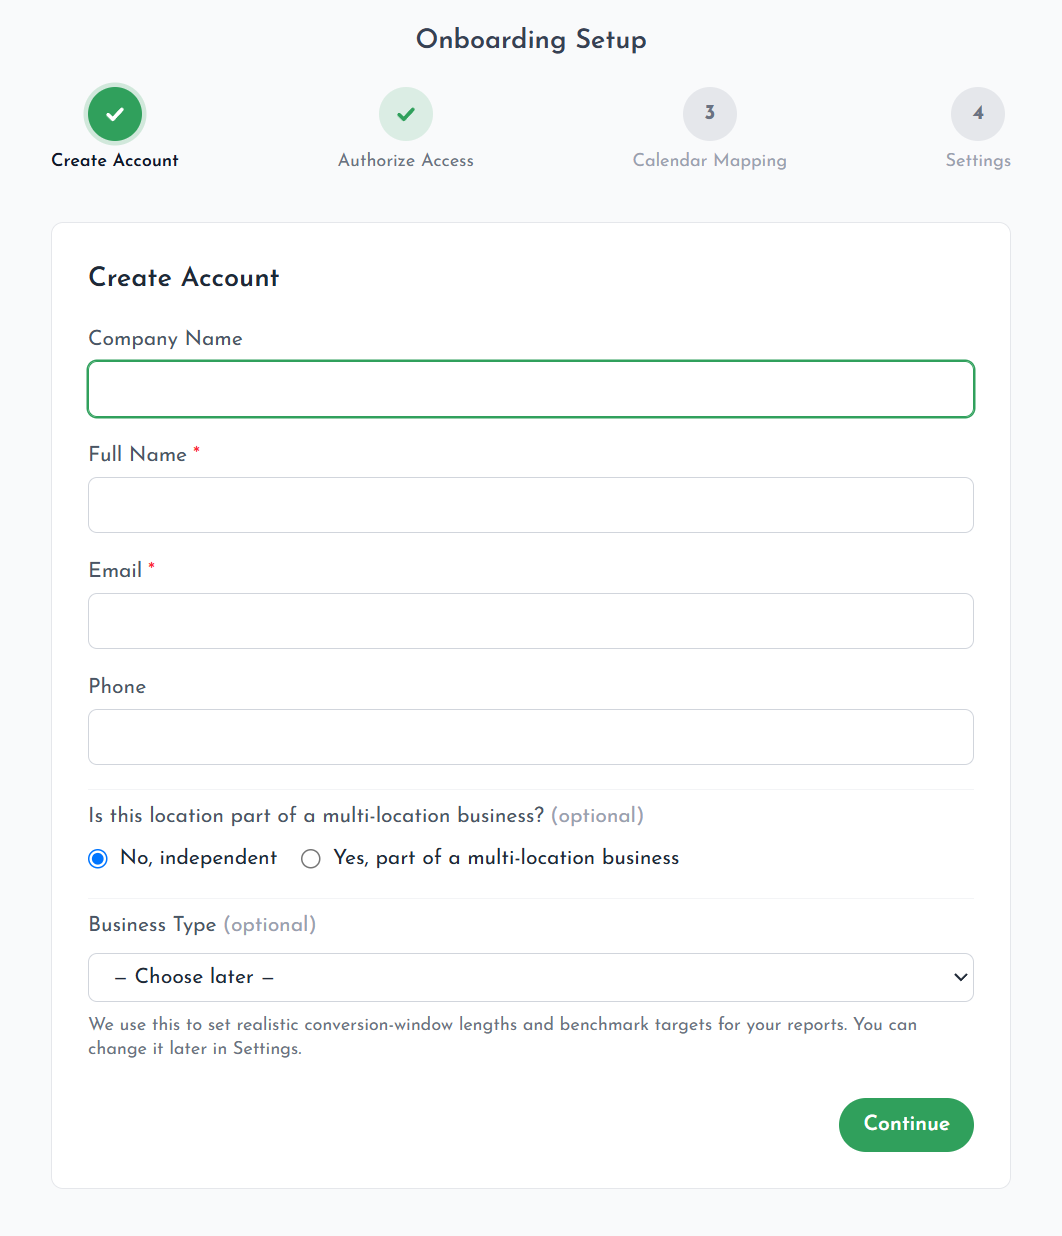
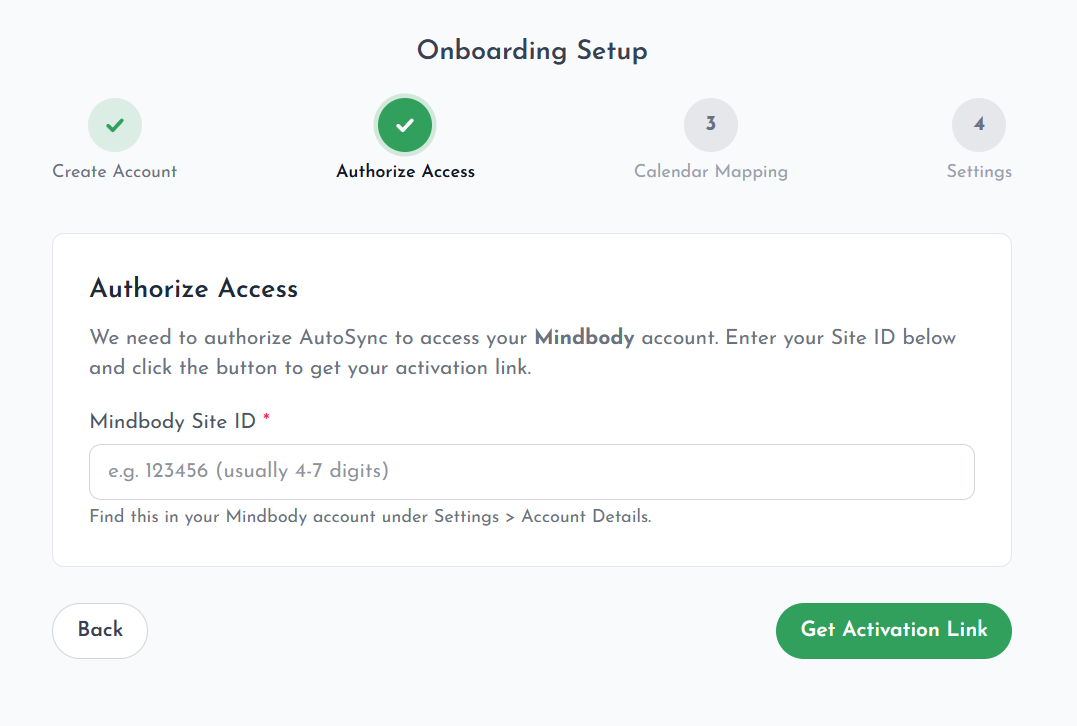
Step 2 — Authorize access
- Mindbody — enter your Site ID. AutoSync generates an activation link that the studio owner clicks to authorize the integration, then validates the connection.
- Booker — enter your Booker Location ID, click Connect with Booker, and sign in to Booker with your location's Account Name to approve access. No tokens or passwords are shared. See Connect Booker for where to find both values.
If authorization fails, the wizard blocks progress until it succeeds — this prevents a half-connected account. For Mindbody, the owner must be logged in when they click the activation link.
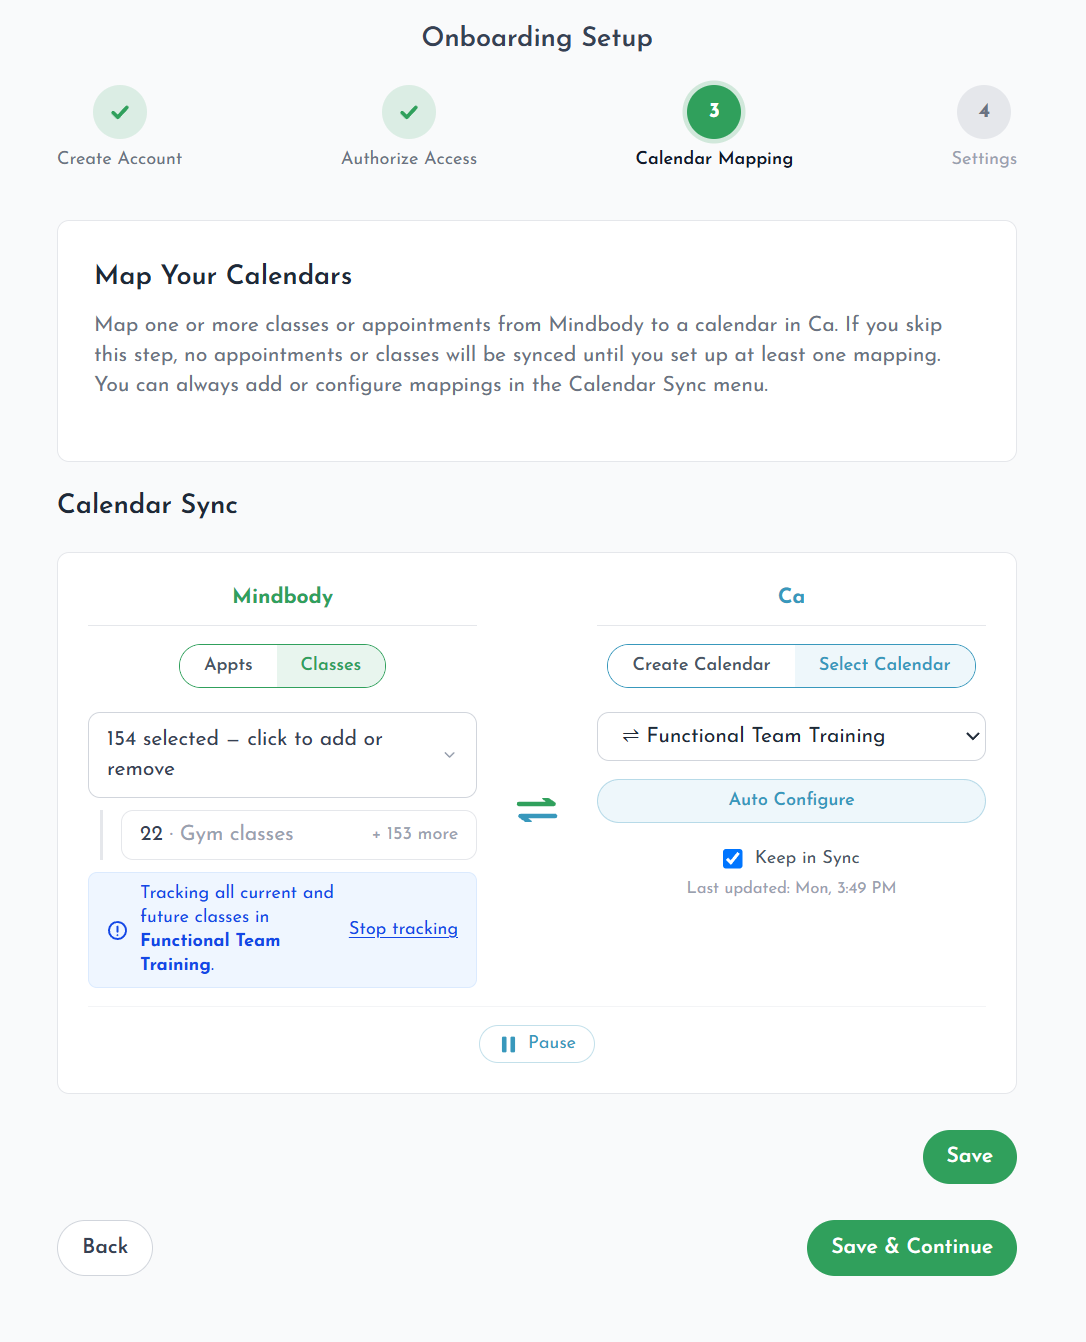
Step 3 — Calendar mapping
Map HighLevel calendars to your appointment types and class programs. You can do it here or skip it and configure later under Calendar Sync. Contact sync works without any mapping, but bookings won't sync until a mapping exists. See Calendar mapping & sync.
Step 4 — Settings
A short flow through the settings that matter for your account. Settings save automatically on every Next, and sub-steps only appear when they're relevant:
- Calendar Sync — sync mode (2-way / 1-way / none), booking priority, contact-sync and notes toggles.
- Visit Tracking — pick Visit (recommended), All, or Appt & Class. See Visit tracking.
- Membership Assignments — choose which pricing options mark a client as a Member.
- Custom Fields Import — optionally import Mindbody indexes as
⇌fields.
3. Go live
When Step 4 finishes, the account switches to Active and an initial backfill pulls 90 days of future bookings for each mapped calendar. From there, everything flows in real time.
Next, install the AutoSync snapshot to load ready-made pipelines, custom fields, and workflow templates into your HighLevel account.
Last updated October 2026